Part II: How to Add Flaming Decals to a Modern Car Design
Apr 18th in Photo Effects by Kyle PeroThis tutorial will explain the steps needed to turn this boring Prius into an awesome street racer. This tutorial is aimed at intermediate users of Photoshop, those who know most of its basic tools and how to use them. This is Part II of a two-part series. Get situated comfortably in your chair, as we pick this series up from where we left off.
Step 24
From this point on, I will mostly be using techniques that I have already explained. I'm not going to go into as much detail in Part II. When using new techniques, I will continue to give a detailed explanation, though.
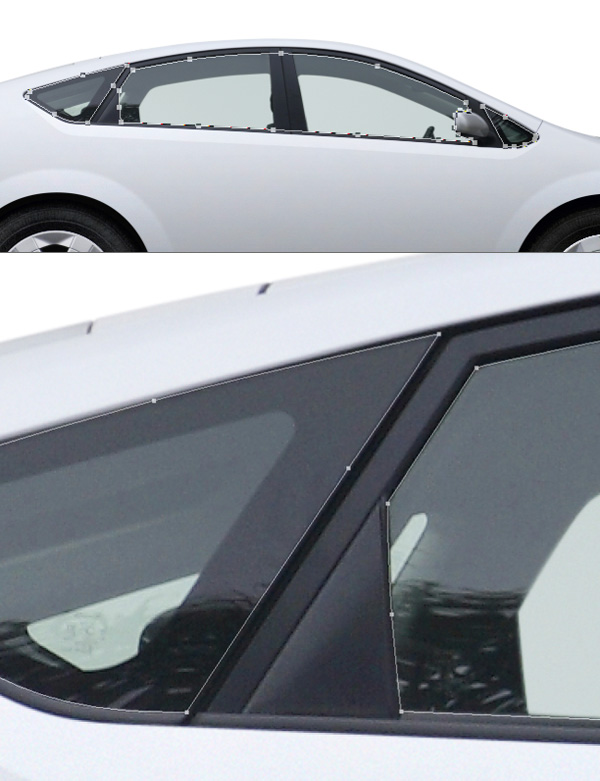
Draw a path around all the glass on the windows. Make a selection of the path and feather it 0.5px. Make a solid color adjustment layer in the "windows" group and fill it with a very dark gray. Call it "tint." Assign the path as a vector mask on the color fill and turn off the vector mask. Make a noise layer like we did before and apply it as a clipping mask on the "tint" layer.

Step 25
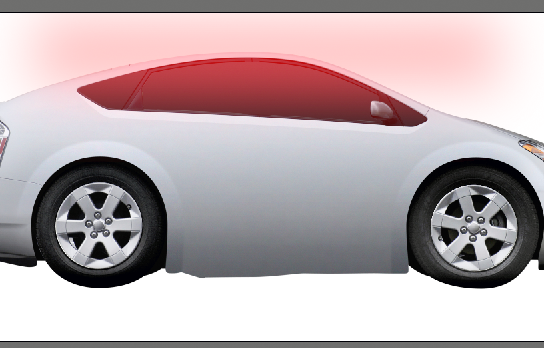
Make a heavily feathered selection around the top of the windows. Make a Curves adjustment layer that lightens the top part so you get a nice fade at the top of the windows.

Step 26
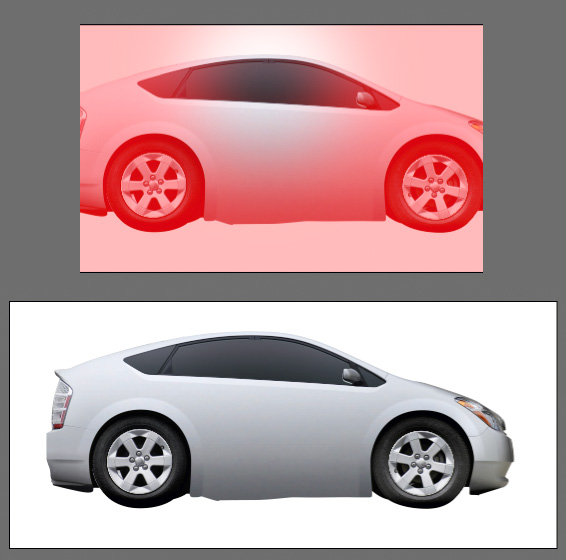
Make a heavily feathered circular selection around the center of the windows. Invert the selection and make another Curves adjustment layer that lightens the outer parts of the windows. Both of these curves layers should be a clipping mask to the "tint" layer.
